

Step-by-Step: Using Starcraft II From Behind a Proxy
Last revision: 18.05.2019
Introduction
This tutorial will show you how to play Starcraft II from behind a proxy.
A regular HTTP proxy is not sufficient to provide access to the internet to Starcraft II. You will need a SOCKS, Shadowsocks or SSH proxy server.
The instructions below should apply to Mac OS X too as the setup procedure is very similar.
If you determine that this tutorial is outdated, then please feel free to let us know by sending an email via our contact form.
Installation
Download and install ProxyCap. Restart your system when the setup program asks you to do so.
If you already have Starcraft II installed, skip to the next step. This tutorial doesn't go into detail on how to install Startcraft II from behind a proxy. In brief, download the installer from starcraft2.com, then run it and follow instructions. The installer will not actually install Startcraft II - it will only install the Battle.net application. At this point, you will need to configure ProxyCap to redirect Battle.net through the proxy. Then start Battle.net and login into your Battle.net account. From there you can actually install Starcraft II (about 25GB). Once the installation is complete, configure ProxyCap to redirect Startcraft II.
Add proxy server
Right click on the ProxyCap taskbar icon and choose Configuration.

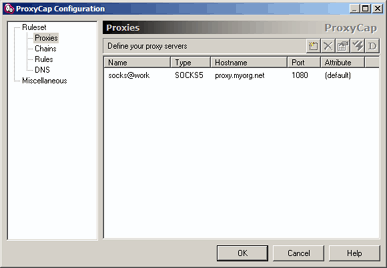
Click the Proxies category.
Press the New  button on the toolbar.

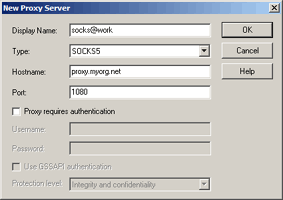
Fill in the proxy settings. Here we use a SOCKS5 proxy server but SOCKS4, Shadowsocks or SSH will be
also OK.
Press the OK button.
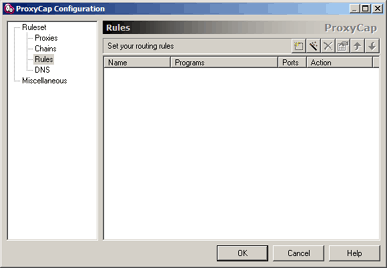
Click the Rules category.
Press the Wizard  button on the toolbar.
At the first wizard page tick "Resolve names remotely". Click the Next button.
Now you should see the Programs wizard page.
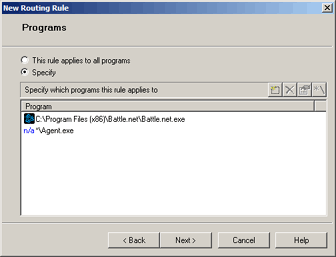
Click the Specify radio button.

Press the New  button on the toolbar.
Navigate to the Battle.net program folder. It is located in Program Files on 32-bit Windows or
in Program Files (x86) on 64-bit Windows.
Select Battle.net.exe.
Press the Open button.

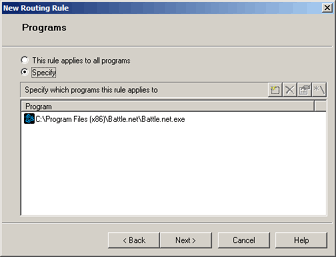
Repeat the procedure above to add Agent.exe to the Program list. Agent.exe is located in
C:\ProgramData\Battle.net\Agent\Agent.NNNN, where NNNN is the highest available build number. The
Windows ProgramData folder is hidden by default. To open this folder in the Select Proxy dialog box,
enter its path (C:\ProgramData) in the address bar at the top of the dialog box.

It is a good idea now to remove the dependency on the specific build number for Agent.exe. Select
the row in the list, and then press the Ignore File Path
 button on the toolbar.
Click Next until the last page of the wizard appears.
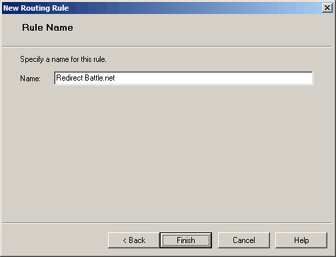
Enter a name for the rule.
Press the Finish button.

Starcraft II supports both the TCP and UDP protocols. By default it uses UDP, but it switches to TCP if UDP is blocked. We will add 2 rules: a "redirect" rule for TCP connections and a "block" rule for UDP. The latter will force the game to use TCP. First, let's add the "redirect" rule.
Click the Rules category.
Press the Wizard  button on the toolbar.

At the Rule Action wizard page tick "Resolve names remotely". Click the Next button.
At the Programs wizard page, click the Specify radio button.

Press the New  button on the toolbar.
Navigate to the StarCraft II program folder. It is located in Program Files on 32-bit Windows or
in Program Files (x86) on 64-bit Windows.
Open the Versions subfolder.
Open the Base subfolder with the highest build number.
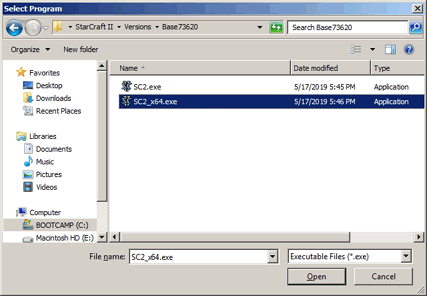
If you are on 64-bit Windows (like I am now), select SC2_X64.exe. If you are on 32-bit Windows,
select SC2.exe instead.
Press the Open button.
Remove the dependency on the specific build number. Select the row in the list, and then press
the Ignore File Path  button on the toolbar.
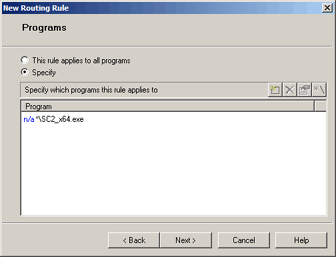
Now add StarCraft II.exe to the Program list.
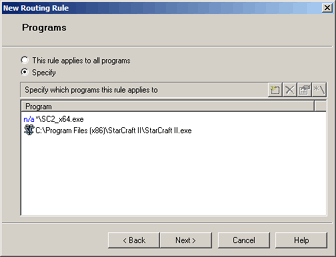
Click Next until the last page of the wizard appears.
Enter a name for the rule.
Press the Finish button.
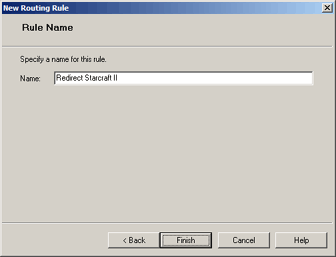

Now let's add the "block" rule.
Press the Wizard  button on the toolbar.
Select "Block" from the drop down menu.
Click the Next button.
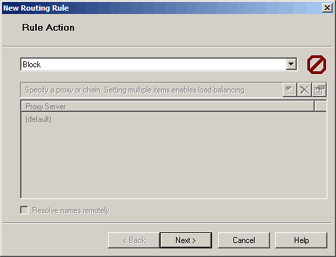
If you are on 64-bit Windows, add SC2_X64.exe. If you are on 32-bit Windows, add SC2.exe instead
(use the same procedure as in the "redirect" rule, including the path truncation).
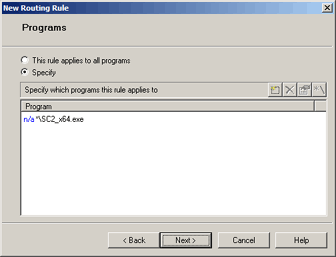
Click Next until the Transports wizard page appears.
Untick "TCP" and tick "UDP".
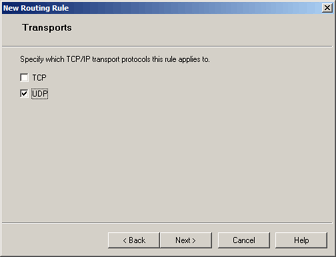
Click Next until the last page of the wizard appears.
Enter a name for the rule.
Press the Finish button.

You are done. Click OK to save the configuration.